Tuesday, March 29, 2016

Rainbows everywhere...

Today's Color Challenge over at CardADayChallenge Blog 
was to create a card based on this photo:


It just screamed rainbow to me.

So I got a little crazy creating cards for it.


The two above are the cards I made based on the challenge.
The ones below are cards I've made recently that I thought fit the theme. 


Create your rainbow today.

Happy Crafting 
Theresa


Monday, March 28, 2016

Tapestry Card Technique

Today's challenge on CardADayChallenge Blog
was to create a clean and simple card with Hi or Hello.

I used the Tapestry Technique to create this card for the challenge.


I just love how it turned out.
I used Ranger Distress Inks in Carved Pumpkin, Squeezed Lemonade, 
Picked Raspberry, Peacock Feathers and Twisted Citron for the base layer.  I then 
stamped on the flowers and used WOW clear embossing powder.  
After that cooled, I used RDI in Tea Dye to coat the entire piece.
For the sentiment, I used a fun foam hello that a friend sent to me recently.

Clean and Simple doesn't have to mean boring.

Happy Crafting
Theresa

Saturday, March 26, 2016

Hippity Hoppity Blog Hop March 26th

Welcome to the


If you didn't arrive here from Miranda's blog then be sure to stop by our hostess,  
Lisa's blog and start from the beginning.  Lisa has some great blog candy to giveaway. .

Now on with my project for this great hop...


Hubby was sweet enough to get me the Crazy Birds Accessories stamps and dies for Christmas.
I only used the stamps for these sweet cards along with my Crazy Birds stamps.
A few Spectrum Noir Alcohol Markers and a sentiment and they were done pretty quickly, ready to be mailed or stuck in an Easter basket.

I'm the end of the hop for today. We truly hope you enjoyed all the projects and will
join us for the next one.  Don't forget to leave a comment on each blog for a chance to
win the blog candy being given away on Lisa's blog.

Happy Easter
Theresa


Here's the hop line up in case you missed a stop:

9. Miranda ~ www.nanasscrapspot.com 
10. Theresa ~ scrapsbygracie.blogspot.com YOU ARE HERE!


Friday, March 18, 2016

He is Risen Blog Hop

Welcome to the


Today's hop will be a celebration of Christ rising from the grave.

We've got a great group of bloggers today and the projects will just wow you.

Please comment on each of the blogs the hop to be entered into the prize drawing.

Today's prize is a $10 gift certificate to Simon Says Stamp.


The hop will be open for comments until March 31st. 
Winner will be announced on Theresa's blog on April 1st. No Fooling!

Now on with the projects.


This card came together in a matter of seconds.
All it took was a card base and some Paper Studio
 (Hobby Lobby's private brand) clear stickers.

I don't own a single Easter themed stamp so I was trying to find something 
and I came across these stickers and made them work. 

Happy Easter! 
Theresa


Up Next is the CADC Design Team - cardadaychallenge.blogspot.com
Don't forget to comment for your chance to win.

Today's lineup:


StampNation Stencil Class Lesson 17

Lesson #17 was on Alcohol Inks and Stencils

I went a little crazy with this one. I'm just warning you ahead of time.

I've always loved playing with my alcohol inks, so I sat down last night and had to play with them and some new stencils my crafty secret sister (from another group) sent me.

I might have gotten a tad bit carried away. 


Series #1 
I used Tim Holtz Glossy Paper and Ranger Alcohol Inks. I mixed a few colors on the felt blending pad and pounced on the stencil. DO NOT RUB in a circular motion like you would with distress inks. This just turns the colors to mud.


This one is on plain cardstock, made while cleaning my stencil and blending tool.


For this one I used only one color of ink on the felt blending tool at a time.

Series #2


This one is on plain cardstock and was made while cleaning my stencil. 


 is on plain cardstock, still had a lot of the ink and silver additive on my tool and didn't want to waste it so I used the plain cardstock that I had down underneath my glossy to catch the drips.


Series #3


Plain cardstock again, cleaning stencil.


This one too, plain cardstock, stencil cleaning.

Series #4

This is what the piece looked like after applying the ink 
directly to the paper from the bottle, no blending tool.

I used a plain piece of cardstock to "blot" up the excess ink. Don't worry it won't go to waste.

I then added my stencil and pounced on Pearl Alcohol Ink Additive.


OH MY GOODNESS I'm not sure this card will ever be sent to anyone.  
I just love, love, love how it turned out.


Technically this one doesn't have any stencil used on it, but I made it while making the one above. I had so much ink that I had grabbed a piece of cardstock and blotted the ink. It turned out so cool I had to make a card from it.   See I told you it wouldn't go to waste. LOL

Stop back on Monday and check out the final installment of this series.
Starting Monday, March 21st I'll be doing my LOAD216 series. 
Twenty-nine days, twenty-nine layouts. Come see them all.

Happy Crafting
Theresa

Thursday, March 17, 2016

StampNation Stencil Class Lesson 16

Lesson #16 was on using Gelatos and Stencils


My 1st attempt at stenciling with gelatos was not exactly successful.
I stenciled (the one laying on the left) and then moved to a different piece of paper to "clean" the stencil and I liked it ok, but you know how it goes, I just couldn't leave it alone. I cut off a hunk of two different colors of red gelatos and mixed in a little water and then used my palette knife to stencil again (that's the big one standing up), now there is a thick layer of gelato, kinda like embossing paste on the rose. 
I then cleaned the stencil three more times on the 3rd piece of paper. 

I'm not sure any of them will ever make it to becoming a card but we'll see after they dry.

(They made it to the recycle bin!)

Hopefully if you give it a try you'll have better luck.  
I really love my Gelatos but this just didn't work for me. 

Happy Crafting
Theresa

Wednesday, March 16, 2016

StampNation Stencil Class Lesson 15

Lesson #15 was on Colored Embossing Pastes with Stencils

First, let me say I don't own colored embossing paste. I own white and clear.

Then how did I achieve these "colored" pastes?

This first card I used my Ranger Alcohol Ink in Sunset Orange to color the white paste.

Just take a bit of the paste out of the jar (use your non-stick craft mat or a piece of acetate) and add color to it. Whether you use alcohol inks, ink pad refills, your ink pads (smoosh on mat before adding the paste) or something like Rit fabric dyes or even food coloring, you can achieve a rainbow of colors and only own the white or clear pastes.  Money saver, right?


Now these cards were made with the homemade embossing paste recipe that I posted about before and for it I used black acrylic paint to color the paste.  So go see what supplies you have in your kitchen or craft room (assuming they are not one and the same) and make yourself some colored embossing paste.


Happy Crafting
Theresa 


Tuesday, March 15, 2016

StampNation Stencil Class Lesson 13 & 14

Lesson #13 was on Stenciling over Stamping

Ok, I may have gotten a bit carried away with this one.
 Actually I'll be using these for swap cards for an Easter/Spring card swap.
I just love how they turned out.


Lesson #14 was on using a Gelli Plate with Stencils to make Monoprints

Since I don't own a Gelli Plate this homework remains unfinished.


Remember yesterday I mentioned a certain Amazon box being delivered?
Guess what else it contained.  That's right a gelli plate is in the house.
No time to play this week. It's 4 a.m. as I'm writing this little addendum and I've working doubles all week. But never fear, watch future blog posts for projects with this awesome tool (toy?). 

Happy Crafting
Theresa

Monday, March 14, 2016

StampNation Stencil Class Lessons 11 & 12

Lesson #11 was on Stencils & Color Bursts

Since I don't own any color bursts or pigment powders yet, I haven't completed this homework.


Guess what came in yesterday's Amazon box???? Yep, that's right some color powders, but did I have time to play last night...no, I didn't! But look for more stenciling love on the Card A Day Challenge Blog in July! I'm sure they will make an appearance there. hehehehehe giggling like a crazy person.


Lesson #12 was on Creative Mediums (embossing/texture paste)

I own white and translucent pastes, but decided to give this homemade one a try. 
I used black acrylic paint (since it uses acrylic paint you can in theory use any color, right?)
My glue was OLD!!! My kids are 21 and almost 20. 
Seriously, I haven't bought white school glue in 6 or 7 years.
I didn't measure the paint or the glue, just guesstimated a tbsp.
I did measure the cornstarch (it wouldn't get my measuring cup yucky)

I mixed it up in a disposable plastic cup. I didn't want the black staining any good plastic ware. 
Of course you could use something glass, but why risk it. 

Because my glue was "drier" than normal, I added a bit of water 
(after I started mixing with my palette knife) using a mister bottle.
 Spraying only a few spritzes at a time,  until I got a decent consistency. 

It's a really simple recipe:

1/4 cup cornstarch
1 tbsp white acrylic paint
1 tbsp white school glue (like Elmer's)
Mix it together and if it is too thick, add just a bit of water to thin it out. 

If you want to see the video, it is on the Scrapbook Expo YouTube channel, with the title "Tip of the Day: Creating Texture Paste from Stamp & Scrapbook Expo.

 Here are the cards I made using the homemade paste.


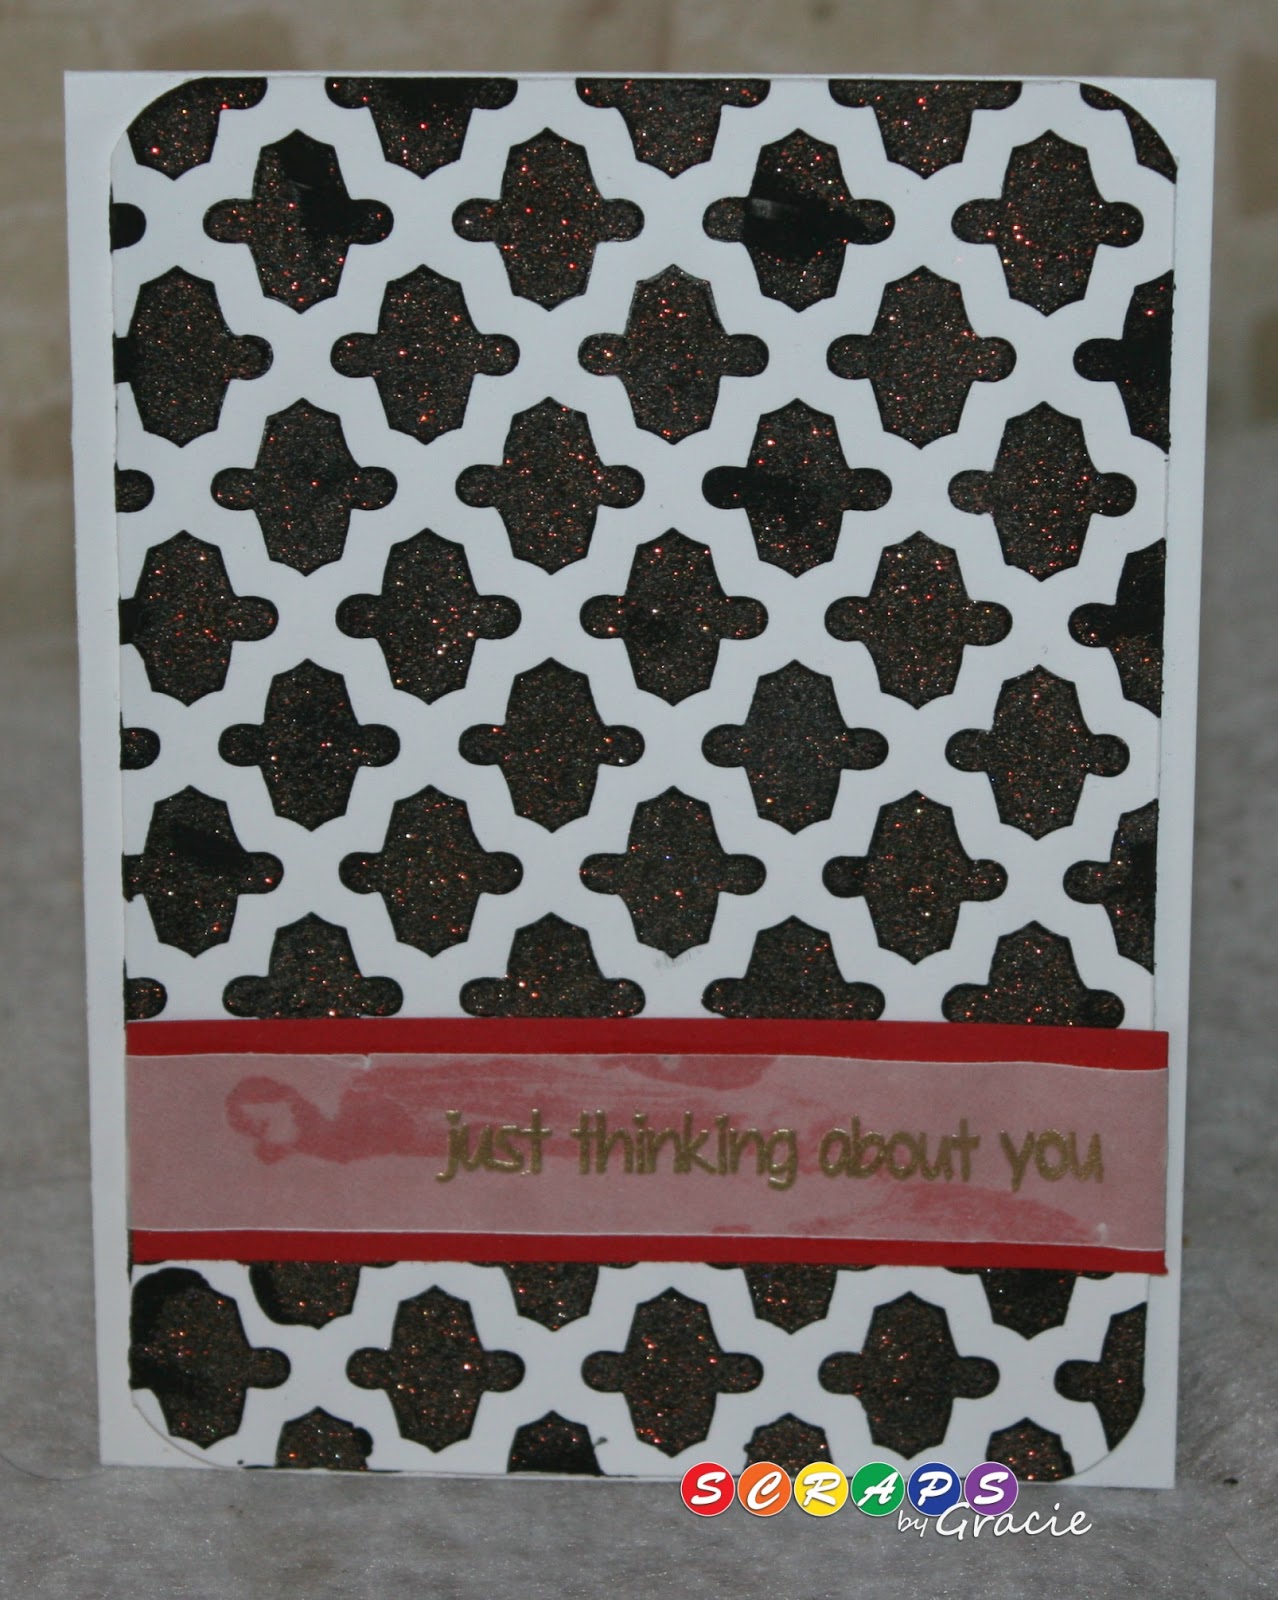
The first card uses just the plain paste.
Card 2 I added ultra fine iridescent glitter.
Card 3 I added Tim Holtz Distress glitter.
I'll definitely be playing with this DIY paste more. 

Bonus, you can use your heat gun to dry it completely 
and it doesn't bubble up like the commercial brands.

Final thoughts on the homemade stuff: 

If you don't own commercial embossing pastes and have the supplies on hand, 
this is a good way to get your feet wet with this type of product/technique 
before spending a bundle on the commercial brands. 

The consistency is a little off compared to some, but if you are willing to use your mixer to whip the paste up it would have the lighter texture of the store bought brands. 
I, however, am not willing to do that, to much like cooking. LOL

It worked just fine, mixing it by hand. Add water sparingly. Use a spray bottle and add only a few spritzes at a time. You don't want this to be watery. It will bleed under your stencil. You want something like frosting (if whipped) or cake decorator gel (if mixed by hand). 

Be sure to use something disposable under your project, as this stuff stains like crazy (of course that's because I used black, but any color of paint is going to stain). I first tried it on my craft mat and it took a bit of elbow grease to get it up so I switched to a piece of chipboard from a package.

All in all, a good alternative. This will be a great product for teaching a class with as it is cheap and you can toss any extra at the end of the night without feeling bad.

CLEAN UP IMMEDIATELY or have a bucket of water handy 
and place your stencils in as you finish using them.
This stuff is even worse to get off than store bought if allowed to dry.
It will stain your clear stencils (if you use colored paints), no big deal but just an FYI.

My recommendation, give it a try!


For the card above, I got really happy mixing all kinds of products and mediums.

I started by ink blending Ranger Distress Inks in 5 colors, then I sprayed on Heidi Swapp Color Shine in Black and Tattered Angels Glimmer Mist in Navy. I sprinkled on HS Color Shine in White and Tinsel (silver). After it dried I added my Hero Arts stars stencil and mixed translucent embossing paste with Ranger Distress Glitter and the Ultra Fine Iridescent Glitter and spread that on through the stencil. 

After the stars were dry, I used a piece of sand paper to smooth off an area for my Dylusions sentiment which I used Versa Fine and Ranger Detail White embossing powder for. 

I love how it turned out.


Used my SOA Young at Heart collection with some translucent 
glitter embossing paste to create a couple of cards. 
The first one on black cardstock, the second card, I stenciled with Twisted Citron then moved the stencil and double stenciled with the glitter paste. 

Embossed vellum cut with one of the frames dies from the SOA completed the cards.


Stop by tomorrow for more stenciling fun.

Happy Crafting


Theresa